In Arduino From Scratch Part 14, I identified some of the things I think could be improved for a Rheingold Heavy flavored edition of the Arduino Uno. Having thought about it for some time now, I’m ready to lay out some solid design requirements. This isn’t going to be the jazziest post in this series, but I promised to show all the details in going from schematic to final product, and this is one of the necessary steps along the way.
Arduino Design Requirements
I want to preserve the things the Uno does well, while improving the things it does not do well. This wheel is pretty well invented already, I just want to polish up the chrome.
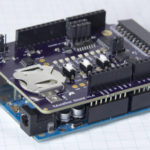
Preserve the Full Sized Uno Pin Header Pattern
The shape of the female pin header is well documented in it’s strangeness. The extra spacing on the SPI side of the board preventing a straight run of headers, but also working now in a retroactive-continuity way to ensure things don’t get plugged in backwards. I think it’s important to preserve this pattern to allow full compatibility with any Arduino shield a user might want to use.
Maintain Easy Manual and Automatic Reset of the ATMEGA328P
This is vital, to make the Rheingold Heavy edition of the Arduino as easy to reprogram with the IDE as the official version. The automated reset of the board by the DTR line allows the upload to proceed without requiring user intervention.
Allow External as well as USB Power
As with the Genuino version of the board, I want to provide a barrel jack with appropriate regulation and protections that will allow the user to power the board from a battery. This will mean taking steps to prevent incorrect connections and short circuits from destroying the voltage source, or the board.
Allow ICSP Programming of the ATMEGA328P as an Alternative to USB
I’m sure this is a limited use feature, for many users, but I figure the sort of user that would be interested in this flavor of an Arduino, would be the sort that might try programming over ICSP just to see if they can.
Reduce the “Fully On” current draw to <=20mA
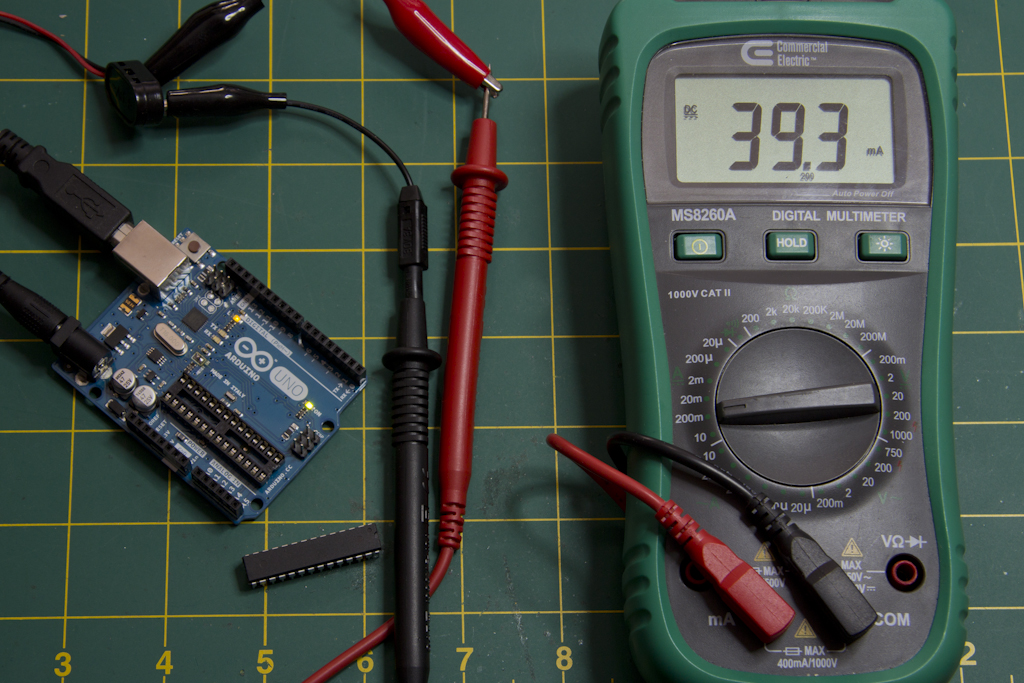
This is where we’re starting to deviate from the things Arduino does well to things I want to change. I will find a way to drop the “on” current draw of the board when it’s not running a thing to less than 20mA. The 40mA static current draw when the 328P is *removed*, essentially prevents it running it off a battery. 20mA is the goal, although I hope to get lower.
Allow Customization to Bring the Current Draw Significantly Lower
Maybe a power management area where you can disable certain features of the ATMEGA328P if you know you’re not using them. Like a series of jumpers to turn off various peripherals: ADC, SPI, I2C, etc.
Replace the Standard USB Connector with a Mini Connector
Seriously, this cable should be plugged into my printer and nothing else.
Avoid Any Use of Through Hole Components
I want to minimize the cost of assembly and going fully surface mount will help achieve that goal. The corollary to that is that all parts will need to be located on the top of the board as well.
Make Better Use of the ATMEGA16U2 or Replace It
I’m inclined to replace the ATMEGA16U2 entirely. Having a partially utilized micro doing the USB to UART translation instead of just going with an application specific IC like those from FTDI, seems wasteful. Also, the single quantity price for an FTDI chip is the same as the 5,000 quantity price for the 16U2, and the FTDI FT231X can operate at 8mA.
Add Test Points to Expose Internal Signalling
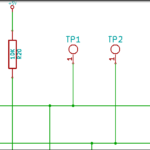
Adding test points on the USB lines, reset line, Serial RX and TX lines and maybe even on the peripherals might be helpful for a user. Doesn’t have to be anything fancy, maybe even just a small unpopulated PTH drill they can hook a logic analyzer or scope probe to easily.
Design Requirements Are Your To Do List
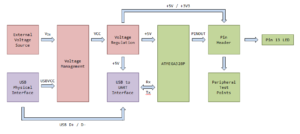
The design requirements shape what the final product will be: they’re the to do list for your design, the goals. Having established the goals I can now move to sketching out how things will fit together with a block diagram. As expected, there isn’t much difference between the way this block diagram describes the functions, and what you would expect if someone did a block diagram of the Genuino Uno itself.
The next step will be to start modifying the original schematic, by laying in my modifications.
